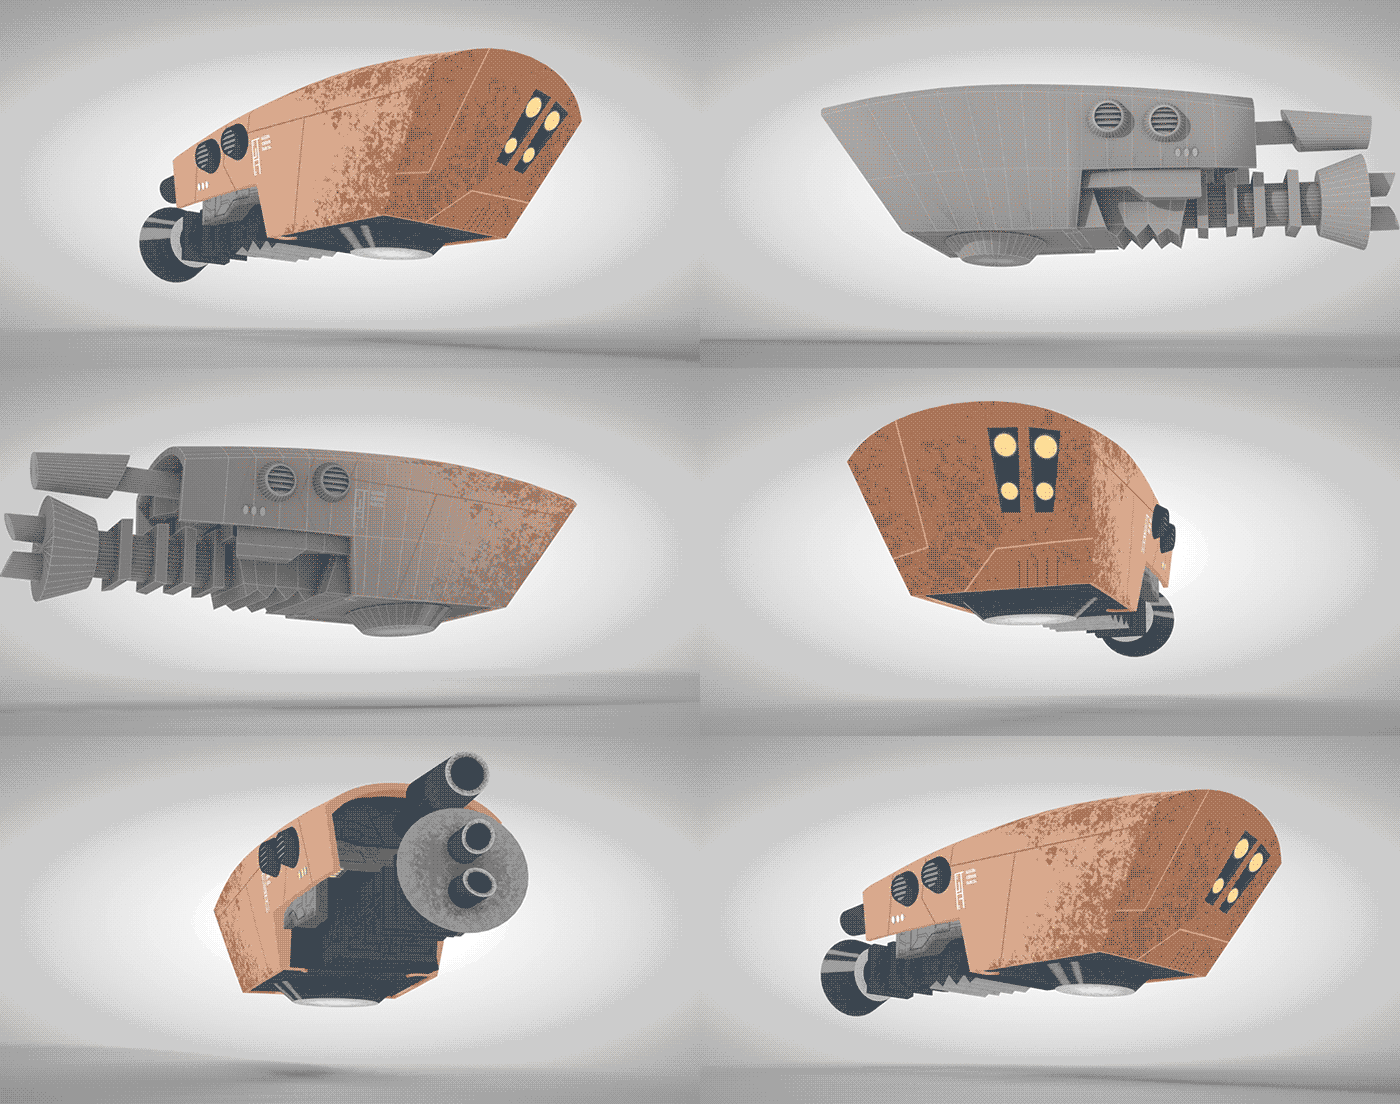
In this tutorial, Coban and Kristin from Edison Creative demonstrate how they utilized Cinema 4D’s Bodypaint and UV unwrapping tools to help them create 3D assets for use in their 2D cartoon series pilot, The Axiom Chronicles (support their Kickstarter!) If you enjoy this tutorial, please send Edison Creative some love on Instagram, Facebook, and Twitter to thank them for their generosity in sharing their knowledge & processes!
You Will Learn:
• How to use & map UV grids
• Basic Bodypaint UV Unwrapping methods
• Baking textures for editing in Photoshop
• Applying UV mapped materials in Cinema 4D
Download the FREE Motext Lite preset for Cinema 4D Lite
If you have any questions about Bodypaint and UV’s, post them in the comments section! If you created any cool textured objects using any of these workflows, be sure to share it with me Twitter, Instagram, Facebook, or in the Comments! Thanks for watching!


Thank you, very much, for this easy-to-follow tutorial. You have succeeded in breaking my mental block about UV Mapping.
Awesome to hear! Glad this was helpful! :)
Thanks a ton for this tutorial Coban, and Kristin. I had learnt everything I know about UV from many youtube videos, and I’m so glad to know that this one video covered everything UV in one sitting
Wishing you guys all the best on your project and looking forward to your cartoon!
Great tuttorial, but where to find the model for a practice ?
This is EXACTLY what I wanted. Thank you for the gentle introduction to unwrapping. The explanation was well paced and comprehensive…can’t imagine better. I’ll be sliding over to your Kickstarter and kicking in right about now…
I don’t provide project files but you can easily utilize these techniques on any model! Good luck!
Thank you so very much.
The first time I really understand how to handle the UV monster : )
Best regards from Germany
youre very welcome! happy to help! :)
These Guys are amazing! Thanks for sharing this with us EJ