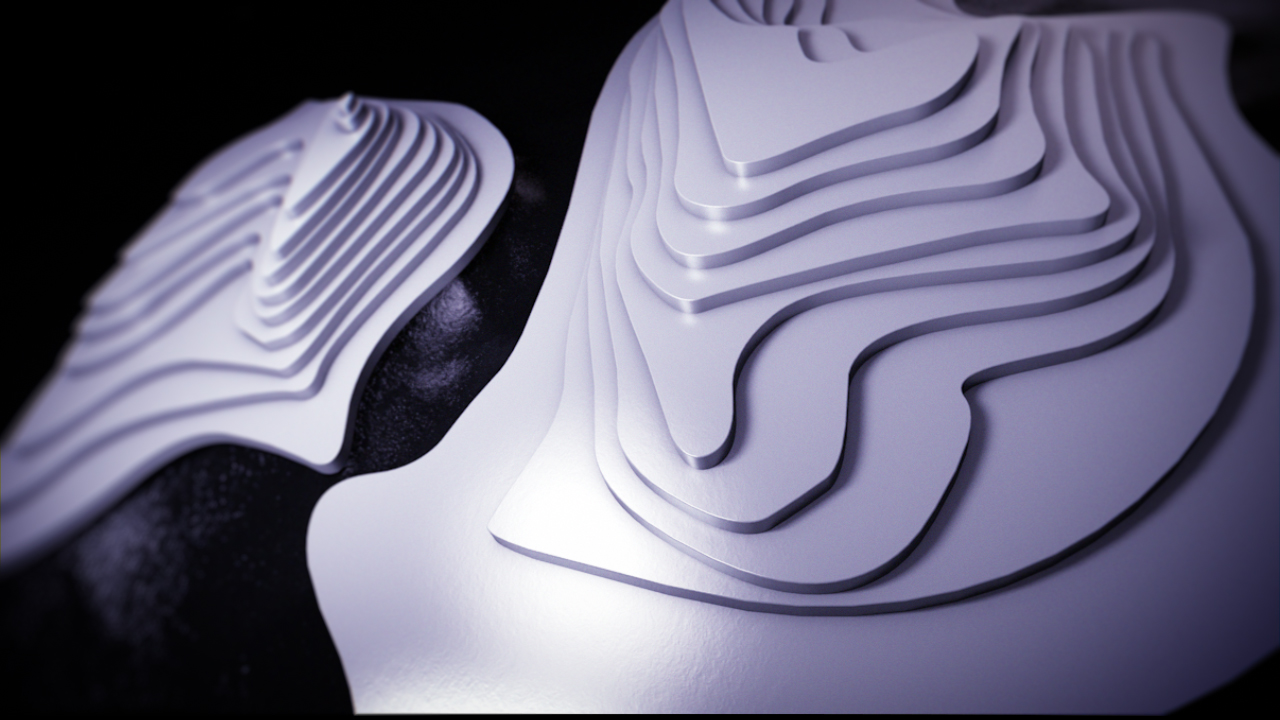
In this tutorial I’m going to break down how you can easily create a topographical map inside of Cinema 4D! First, I’ll cover how to setup a Landscape Object and then how to then easily slice it into layers. Then I’ll demonstrate how to use the sliced layers to generate splines that will then be used to extrude to make each of the topographic levels. Finally, I’ll light our scene and go over how to apply a colorful texture to the topographic map based on height (and even show some useful XPresso along the way!)
QUICK TIP: For R17 users out there, be sure to use the new Spline Smooth tool to be able to smooth out those dense points to create rounder edges on your topographic layers.
If you have any questions, be sure to post it in the comments section and if you create anything cool using this topographic technique, be sure to share it with me! Thanks for watching!
This was recorded live on the Live Design Stream.


Hey EJ, what a great BUNCH of lessons rolled into one tutorial! Thank you so much! Its nice to see the process in this way. And I really appreciate the quick explanations of some of the more obscure buttons. This seems really versatile. Plus the bonus hair tutorial!
Awesome, glad you enjoyed it! I’m happy that you appreciated the Hair bit, as I wasn’t sure if it was too much or if I should mention it at all but, cool! :) Thanks for watching!
Thanks again, EJ. My favorite tip here was the one about linking the Color and Luminance textures with Xpresso. I’ve wanted to do that for years. It never occurred to me to use Set Driven/Driver. Keeping that in mind really opens up a lot more possibilities for Xpresso.
Also, the multiple cuts option with the Slice tool was very cool.
I got a nicer result by using the quad option for the Extrusion caps.
I thought a nice treatment for this would be to combine it with your retro 80s cone animated gif. You could move those negative boolean shapes through a landscape.
Good tip, Dean! Didn’t think of messing around with the different Cap Options!
And for sure, would work great with the 80s tutorial! Thanks for watching!
Set Driver/Set Driven is the most handy bit of Xpresso you could learn!
nice! super easy and quick to follow.
https://www.instagram.com/p/BGX_mGMAbmq/?taken-by=hello_liz_webb&hl=en
NICE! Looking good, thanks for sharing and watching!
Hello, well explained as usual.
I’m looking at the extruded splines and I think there is one missing – I got the same problem.
It is not a big deal but do you remember, have you maybe deleted that spline or is there some issue with the knife tool ?!?
+1 Multiple slice option in the Knife tool – what a gem under my nose
Thanks for the tutorial!
Trying to replicate this (http://vencam.deviantart.com/art/Landscape-1-614474008?ga_submit_new=10%253A1465582501) I found a pretty easy way to get around that issue that lead to the missing “plane” in yours (you can see it well at 10:43) in the video, which is to triangulate and optimize the mesh after you’ve made it editable. As I had many moar polys and cuts, this led to far cleaner splines (using your method I had hundreads if not thousands of errors, which became just about 50 with mine).
I hope you will keep sharing nice tutorials, and have a nice day!
Hey, I got around to moving the landscape thought the moving booleans. It worked pretty well if I put the landscape in a subdivision surface. I also lost the tops and bottom surfaces of the landscape if I used the High Quality option in the Boolean, so I turned it off and it was fine.
http://www.talesfromthehead.com/random/topography.gif
Good call! I actually found this was a bit of a bug that it would miss some of the cuts and apparently it’s fixed in a Service Pack update that should be releasing soon for R17 but that’s very helpful! Are you using R17?
As I mentioned in another comment, it seems like it’s a bug that it randomly misses some of the cuts but the solution Vencam mentioned seems to have helped him with this issue!
No, I use R16. This workaround produced all closed splines (the fact there were some open ones led to missing planes), with just some extra vertical short splines, easily reamovable, though.
great tut about splines :) learned some new tricks
Awesome! Very glad to hear it!
Great tut!! I love your color scheme!! :)
oh yeah, what a nice technique :-) the only way i knew to produce shapes like this was the plugin Vectro Pro. now i know the manual way, which opens up a whole new set of possibilities. thanx for sharing!
Thanks Ej, another great tutorial, it was very helpful as always. I just wonder what hdri plugin did you use, is there any website that i can download?
Cheers!
That’s the Greyscale Gorilla HDRI Studio!
Thanx a lot for the lesson! I’m very excited!
It’s my pic:
https://www.instagram.com/p/BJjE7iGgaxv/?taken-by=sodazot
Thanks Paolo!
Always good to know how to do things without plug-ins just in case the plug-in doesn’t do exactly what you want! :)
Very nice! Thanks for sharing!!!
Nice! Thanks for sharing, Igor!
im trying to do this in R18 but struggling with the new Loop/Path Cut tool, there is no option for X-Z direction cuts only X-Y and Y-Z. any ideas?
https://videohive.net/item/topographical-colorful-logo-reveal/19801370
is yours?
nope!
Hi!I started on this tutorial but I only have Cinema 4D Lite (still deciding if I want to upgrade). Is it possible to create a map like this just with Cinema 4D Lite?
Hi Kelly! Unfortunately you need the full Studio version of C4D for this technique!
Hey, thanks for sharing the tutorial, I’m trying to do this in R18 with the topo lines imported from cad but having issues with applying the gradient. For some reason each extrusion has a gradient of its own and not one for all the extrusions. So instead of -100 to 100 I have to use -10 to. 10 to see the gradient in each extrusion. Can u suggest a solution please?
You may need to adjust the type of projection mapping you’re using for the textures, perhaps the UVW default mapping isn’t working correctly with the CAD file.