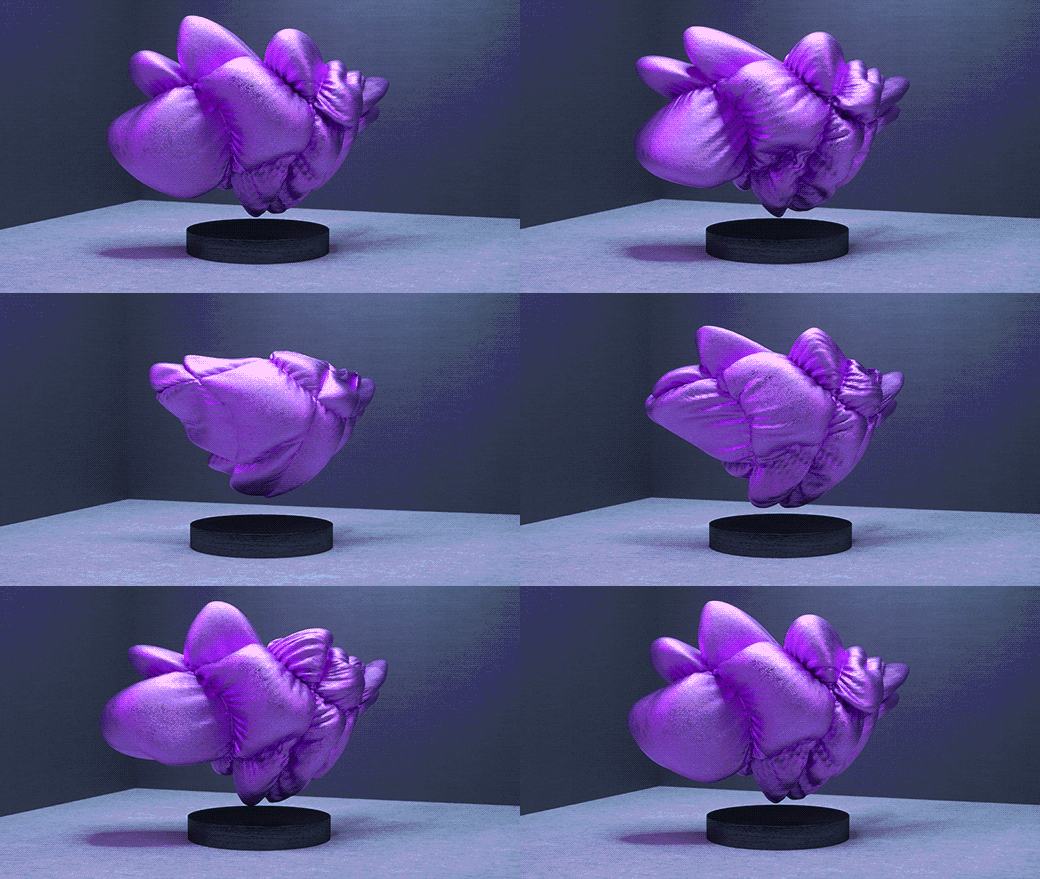
In this Cinema 4D R20 tutorial I’m going to show you how create cloth inflation simulations to create cool, abstract 3D art, as well as inflated logos & text, and pillows!
Download Tutorial & Final Render Project Files
You Will Learn:
• How to use Cloth
• Important Cloth Settings for Inflation Simulations
• How to use this workflow for text/logo inflation & pillow modeling
If you have any questions about C4D Cloth or anything in this tutorial, post them in the comments section! If you created any cool animations using any of these workflows, be sure to share it with me Twitter, Instagram, Facebook, or in the Comments! Thanks for watching!


Hey EJ, great tutorial as always.
By accident, I noticed that I got a much better result for the pillow by NOT using the fix points option. It freed up the geometry around the corners to avoid self-collision and its also gave the pillow a more natural shape. With the fixed points, it’s still a hard edged square if you look at it in Top View. Another thing worth trying might be using a belt tag around the edges because then you can use a Hover percentage and maybe even a vertex map in more complex or difficult situations. I haven’t tried this yet so I’ll have to give it a shot. So far, I’ve gotten far superior results with X-Particles xpCloth when it comes to self collisions.