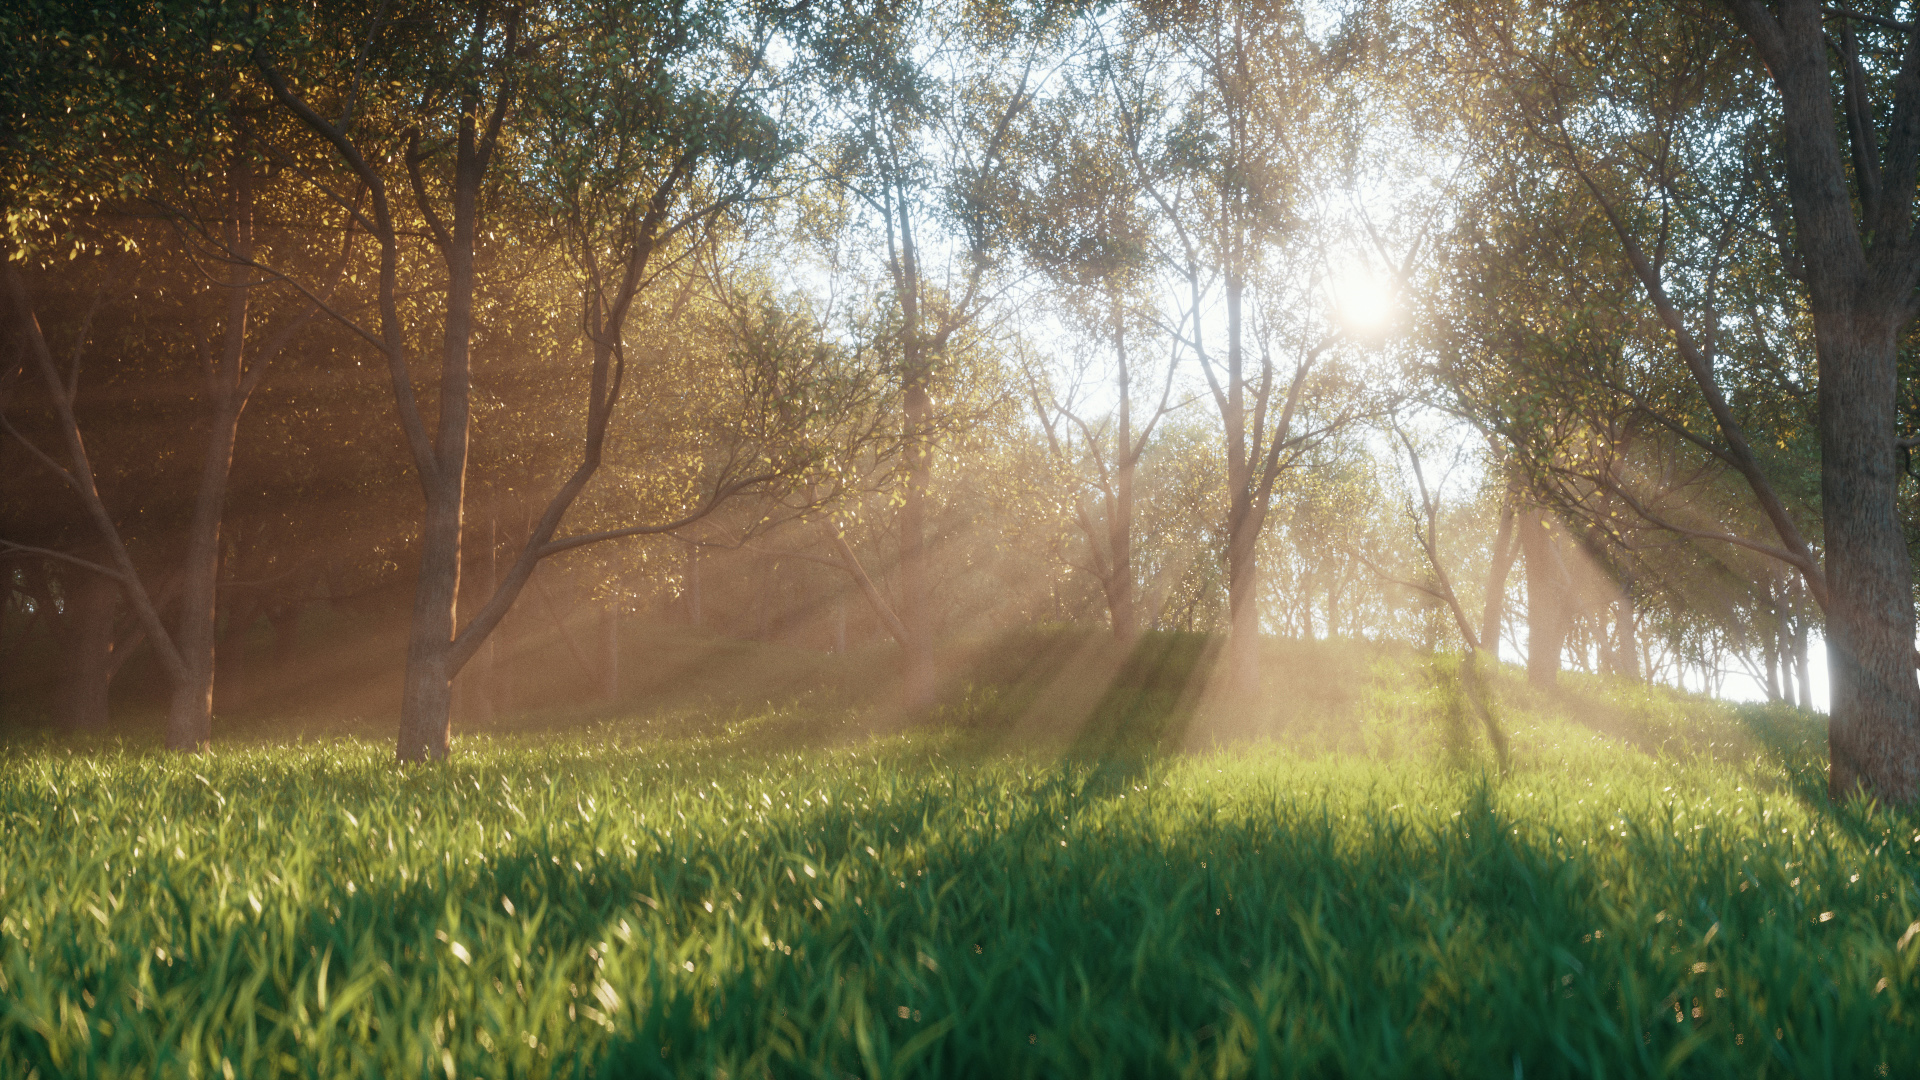
In this 2 part Cinema 4D tutorial series, David Ariew will show you how to create beautiful digital nature renders in Octane!
Helpful Links David mentioned:
Forester
Real Displacement Textures
Osiris LUTs
What You’ll Learn in These Videos:
In Part 1, David will show you how to set up Forester trees and grass with shaders that are both transmissive and glossy, and dial in grass patch settings and random color node for more variation, as well as using vertex maps and procedural noises to create dead zones, and filling those areas with real displacement textures for soil and rocks. In this part 2, we’ll learn how to create god rays and several different foggy looks, as well as lighting techniques. Then we’ll finish up our nature scene from last week by adding in the trees, and taking a look at a new feature for adding custom LUTs. Finally, we’ll explore aerial shots and a nighttime scene with lanterns floating through the woods to see how these techniques can expand to many different situations.
Want to see more tutorials from David? Be sure to show him some love, follow him on Twitter, Instagram and Facebook and leave some comments in the comments section & let us know about any Octane tutorials you’d like to see in the future!
Want more Octane Tutorials? Watch our Octane Tutorial Youtube Playlist!
If you have any questions about Digital Nature renders in Octane, post them in the comments section! If you create anything using this technique, be sure to share it with me on Twitter, Instagram, Facebook, or in the Comments! Thanks for watching!


Love these octane tuts! keep em coming!
Great octane tutorial, hope you create a tutorial about creating realistic sparkling snow using c4d and octane or vray. thanks!