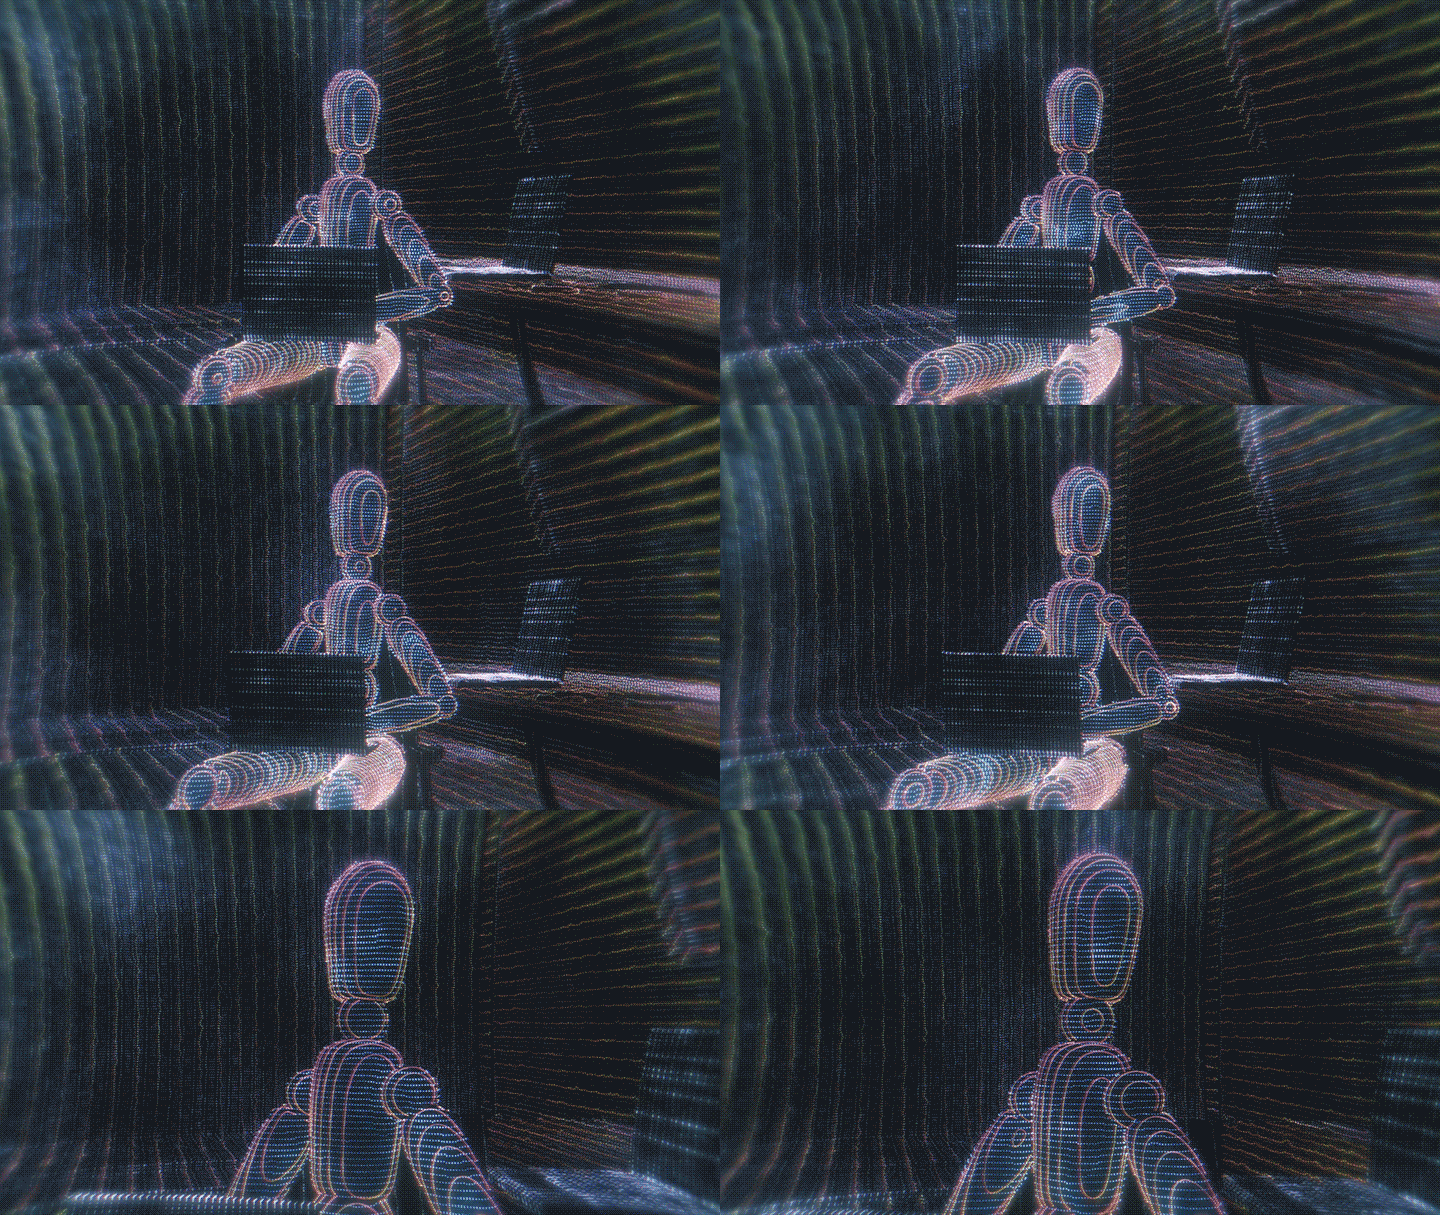
In this tutorial, you’ll learn how to create a cool HUD scan line effect inspired by a scene in the live action Ghost in the Shell movie by using Cinema 4D’s Sketch and Toon!
Download Project Files
Topics covered include:
• Covering Sketch & Toon effect basics
• Learning about the Contour Line type
• Using Patterned Lines to create dotted lines
• Covering Sketch Material options to create tech lines
• Using Sketch Style Tags to apply Sketch Materials to individual objects
• Using Material Selection Tags with Sketch Style Tags
• Compositing in After Effects to add Glows, Blurs & Color Correction
If you have any questions about Creating the Ghost in the Shell HUD Effect with Sketch & Toon in Cinema 4D , post them in the comments section! If you create any cool HUD effects using this technique, be sure to share it with me on Twitter, Instagram, Facebook, or in the Comments! Thanks for watching!


Hi EJ! Thanks for the tutorial! I realize this was published a while ago, but I have a question and hopefully you might have an answer…
Is there a way to render this with the objects as transparent (so that the background shows through)? I made a simple animation styled like this. I am compositing it with footage in AE, and I’d like to overlay the animation without the objects having solid black centers. I did try various blending modes in AE, and I also rendered out alpha channels, but the results all were the same: the HUD elements didn’t really show up very well when overlayed on the real-life footage.
Thanks again!
How do you get your viewport performance so fluid?? I have two 1070ti’s and a spanking 12 core processor. And my viewport response rate is somewhere in the previous century compared to yours. What settings have I completely missed?
RAM helps for viewport performance, but to be honest the viewport for this scene wasn’t too intensive to navigate around!